Barry installed the starter motor & front chassis re-enforcement bar. Both went on smoothly.
Installed new Aeroquip stainless steel clutch line. Seems way too long! Sent a message to seller to make sure everything is OK.
RAMFLO air filters arrived today.
Facet electric fuel pump kit arrived on Tuesday. Still waiting for the fuel pressure regulator.
No word on the electric fan. Going to check local shops to see if we can't find a suitable replacement.
Still trying to source "classic" Castrol XL 20W50 oil in Canada. Also need break-in additive.
Wednesday, October 29, 2014
Monday, October 27, 2014

Ditching the mechanical pump
Many Weber carburetor guides recommend using electric fuel pumps. They provide constant pressure (3.5 - 4psi) and give a slight horsepower gain. So I ordered the Facet fuel pump kit from Burton Power:
http://www.burtonpower.com/facet-electric-fuel-pump-kit-silver-top-4-4-5psi-fac476087k.html
and the blanking plate:
http://www.burtonpower.com/fuel-pump-blanking-plate-x-flow-pre-x-flow-essex-fp281a.html
Some good Weber resources:
http://www.webercarbsdirect.com/v/vspfiles/images/Weber%20Trouble%20Shooting%20Guide.pdf
http://www.minimania.com/Tuning_your_DCOE_Style_Carburetor
http://www.summitracing.com/int/search/product-line/haynes-techbook-weber-carburetor-manuals
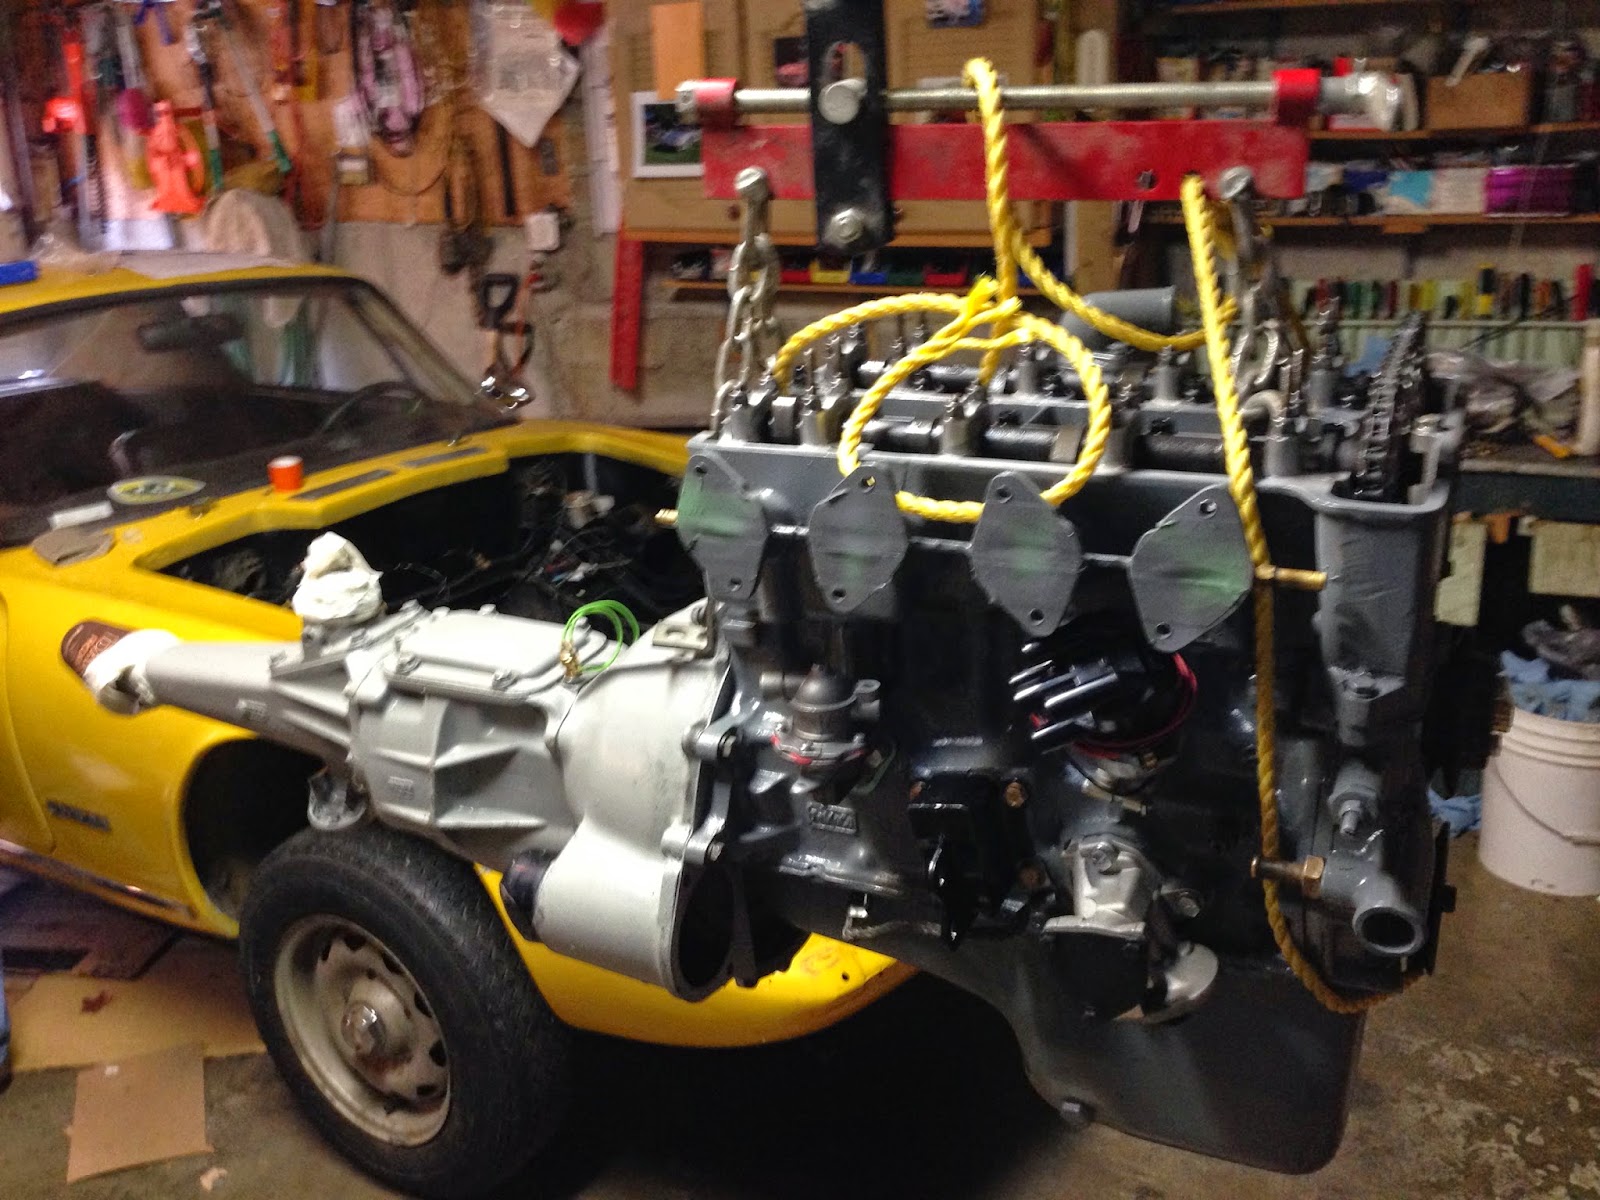
Engine install part 4
Bob (top-left), Martyn (bottom-left) and Barry (right) succeed. It was a frustrating job: two attempts and the better part of a day. The driveshaft fell out on the first try, and after several hours of fiddling, everything went back together.
In pictures:
.jpg)
.jpg)
.jpg)
.jpg)
In pictures:
Engine install part 3
After the previous days fiasco, we decided to install the engine and gearbox separately.
To install the gearbox:
- Remove the passenger seat,
- Remove the driveline tunnel grommet,
- Jack up the front of the car,
- Remove the front passenger-side wheel,
- Slide the transmission under the car (through the wheel arch) and into position,
- Lift/jack the gearbox up and slide it backwards into the transmission tunnel,
- Inside the car, stick your hand in the tunnel and connect the draft shaft,
- Attach the gearbox bracket / mount,
- Support the front of the bell housing (from above or below).
You need to align the gearbox and driveshaft to fit them together. It requires a lot of fettling, and unfortunately, it took us 3 hours.
Engine install part 2
Barry and I spent 8 hours trying to install the engine & gearbox together. Here's why it doesn't work: the bellhousing will not clear the engine mounts; and even if it did, the angle & space required to connect the driveshaft & gearbox doesn't exist. Sorry boys, it can't be done with the body & chassis together.
Sunday, October 26, 2014
Engine install part 1
Cleaned flywheel & pressure plate.
Bolted up gearbox.


Subscribe to:
Posts (Atom)